
Sticky pads for number plates: preparation and fitting guide
Prepare the mounting area, position five adhesive pads evenly and complete a secure visibility check before driving.
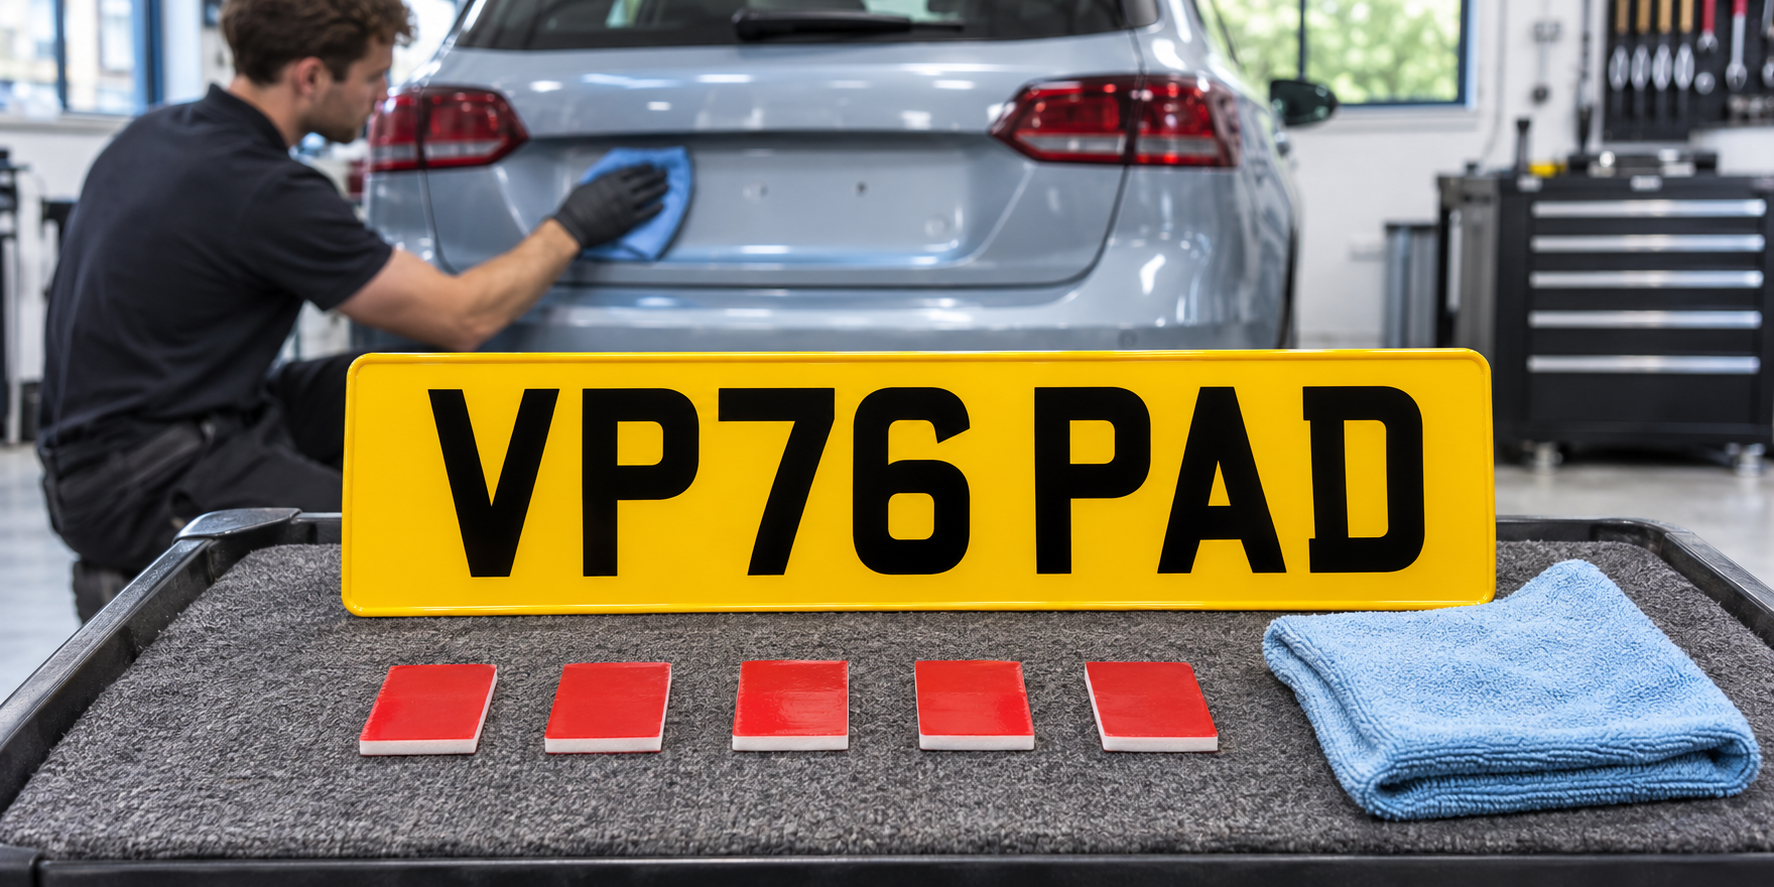
Check that pads suit the mounting surface
Inspect the vehicle before choosing an adhesive fitting. Pads need a clean, dry and stable mounting area with enough flat contact behind the plate. Loose paint, textured trim, deep recesses, pronounced curves and flexible panels can reduce the usable bonding area.
Check the vehicle, plate and pad instructions for material compatibility. A correctly sized holder or suitable existing screw points may be a better choice when the surface cannot support the plate evenly. Ask an experienced fitter before bonding over repaired paintwork or near unfamiliar trim.
- Inspect the full mounting area in good light.
- Look for loose paint, wax, texture and sharp curves.
- Check material and temperature instructions.
- Choose another fixing method if the contact area is unsuitable.
Dry-fit and mark the position first
Hold the plate in its intended position before removing any backing. Check that it is centred in the usable recess, sits upright without being forced into a bend and clears cameras, lamps, sensors, handles, body seams and moving panels.
Use low-tack tape outside the plate outline as a temporary alignment guide if it is safe for the vehicle finish. Step back and read the whole registration straight on and from both corners. The lower supplier and British Standard markings must remain visible, and no bodywork or accessory should obscure the plate.
- Measure the front and rear separately.
- Check the complete plate outline, not only the characters.
- Keep cameras, lamps and sensors clear.
- Set alignment guides before exposing the adhesive.
Clean and dry both bonding surfaces
Remove old adhesive carefully with a method and product confirmed as suitable for the vehicle surface. Wash away dirt and residue, then let the mounting area dry completely. Do not bond over polish, wax, silicone dressing, moisture or loose material.
Clean the reverse of the plate as directed by the pad maker and avoid touching the prepared areas afterwards. Keep solvents and adhesive removers away from the reflective face and raised lettering unless their manufacturer confirms compatibility.
- Use surface-compatible cleaning products.
- Remove old foam and residue rather than bonding over it.
- Allow both surfaces to dry fully.
- Keep car-care dressing away from the bonding area.
Lay out the pads and press once
Vista's builder offers five sticky pads per plate. Lay them out evenly across clean, supported areas on the reverse so the plate is held across its width and height. Keep them away from edges, holes, raised features and any area that does not contact the vehicle; do not stack pads to bridge a gap.
Follow the pad manufacturer's temperature, pressure and curing instructions. Apply the pads to the plate, expose the vehicle-side backing only when the alignment is ready, then position the plate once and press firmly and evenly over every pad. Avoid pulling one corner away to correct a small error after the adhesive has made contact.
- Plan all five pad positions before peeling the backing.
- Spread support across the reverse of the plate.
- Do not stack pads or bridge a hollow area.
- Follow the stated pressure and curing instructions.
Complete a security and road-use check
Current GOV.UK rules require modern plates to use reflective material, with black characters on white at the front and yellow at the rear. The DVSA MOT manual says a plate must not be obscured and lists a missing plate, or one insecure enough to be likely to fall off, as a major defect.
Read the registration from several positions, press gently at each corner and confirm the plate is upright, secure and unobstructed before driving. Reinspect it after the first journeys and washes, and whenever the weather changes sharply. If an edge lifts or the plate moves, do not add a pad over dirt or failing adhesive; remove the failed material and reassess the surface and fitting method. Official guidance checked on 8 November 2026; the current DVSA MOT manual was updated on 14 October 2026.
- Check every corner for movement.
- Read every character from straight on and both sides.
- Keep the complete plate and lower markings visible.
- Recheck the bond after early journeys and washes.
- Refit rather than layering new pads over failed adhesive.