
Number plate holders and fixings: a fitting checklist
Compare plate holders, sticky pads and screws, then check the size, mounting surface and finished fit before driving.
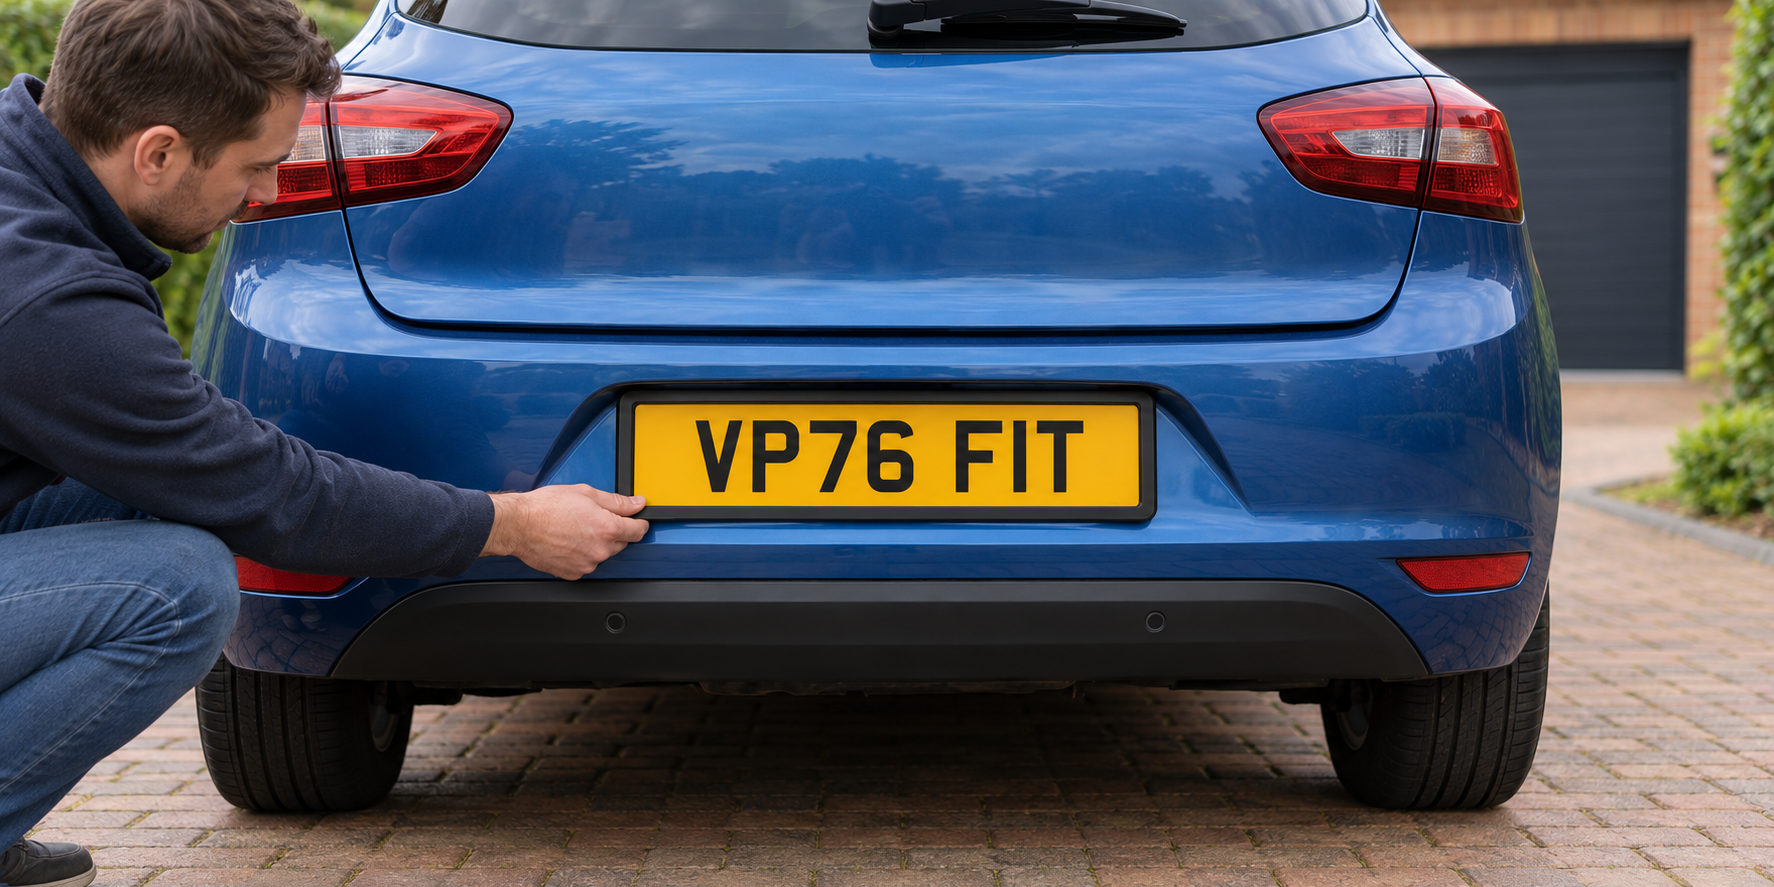
Choose the fixing method for the vehicle
A number plate holder, adhesive pads and screws solve different fitting problems. A holder grips the plate within a frame, pads create a clean face without visible holes, and a screw kit can use suitable existing mounting points. Check the vehicle and the old plate before choosing.
Vista's builder offers No Fixings, five sticky pads per plate or a screw kit. Select the plate position and size first, then add the fixing option you need. The fixings do not change the plate dimensions or make an unsuitable size fit the vehicle.
Measure the plate, holder and mounting area
Measure the usable width and height of the bumper recess or tailgate, not just the outside of the old plate. If a holder is staying on the vehicle, measure its internal opening and check how its clips release before ordering.
Look for cameras, lights, sensors, trim, curves and existing holes. Check the front and rear separately when ordering a pair, because the two mounting areas may use different arrangements. A standard Vista car plate is 520 × 111mm, while short, shaped and model-specific choices have different dimensions.
Fit a holder without hiding the plate
Secure the holder base to the vehicle using the holder manufacturer's instructions, then check that it sits level and does not flex. Insert the correct-size plate and engage every retaining clip. The frame should hold the plate firmly without covering the registration or required markings.
Do not force a plate into a holder that is too small or bend it around an unsuitable curve. After fitting, press gently at each corner and edge to check for movement. If a clip is cracked, loose or missing, replace the holder rather than relying on a partial grip.
Use pads or screws carefully
For adhesive pads, clean and dry the vehicle surface and the back of the plate, then follow the pad manufacturer's temperature, pressure and curing instructions. Spread the pads so the plate is supported without stacking them or placing them on loose trim.
For screws, support the plate and use suitable existing holes where possible. Keep every screw and cap away from the registration characters, raised lettering and required markings. Drilling can damage a plate or let in water, so use an experienced fitter if the correct position or method is uncertain.
Complete the road-use and MOT check
Stand behind or in front of the vehicle and make sure the whole registration is clear. The current DVSA MOT manual says a plate must not be obscured and no feature or fixing may change the appearance or legibility of a character. It also tells testers to pay particular attention to screws and bolts.
The plate should be vertical, or as close to vertical as reasonably practicable, and secure enough that it is not likely to fall off. A missing plate, or one so insecure that it is likely to fall off, is listed as a major MOT defect. Recheck the fitting after the first journey and whenever the plate is cleaned. Official guidance checked on 16 October 2026; the DVSA manual was updated on 14 October 2026.
- Measure the front and rear mounting areas separately.
- Confirm the holder's internal opening before ordering.
- Keep holders, screws and caps clear of all characters.
- Follow the fixing manufacturer's instructions.
- Check every edge and clip before driving.