
Drilling number plates: a screw-hole fitting checklist
Plan screw positions, protect the lettering and reflective face, drill with the plate supported and complete a secure post-fitting check.
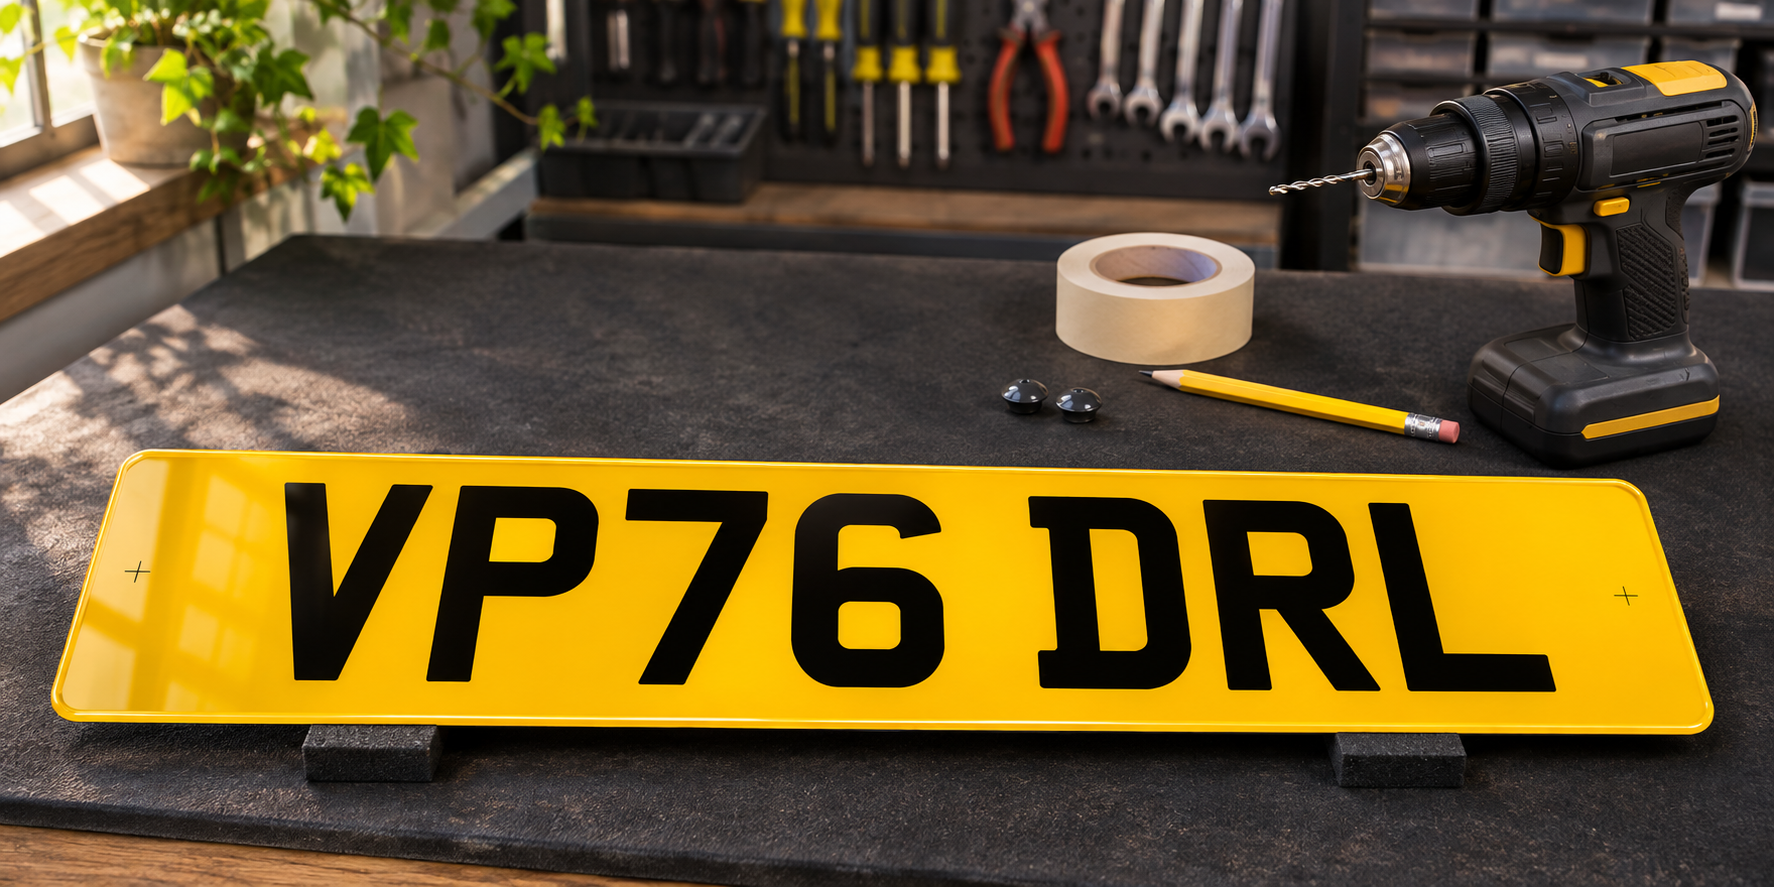
Decide whether drilling is the right fixing method
Check the vehicle's mounting area before making holes in a new plate. Look for an existing plinth, holder, factory holes, threaded inserts, cameras, lamps, sensors, wiring and curved bodywork. The correct fixing method depends on both the plate and the surface behind it.
If suitable existing holes do not line up with clear areas of the plate, do not move them through a letter or number. A compatible holder or suitable adhesive pads may avoid new holes. Ask an experienced fitter when the bumper or tailgate construction is uncertain.
- Inspect behind the intended mounting position.
- Use suitable existing points where possible.
- Check cameras, lamps, sensors and wiring.
- Choose another fixing method if the safe areas do not align.
Use the vehicle and new plate as the reference
Remove the old plate carefully and record its hole positions, but do not copy them blindly. The new plate may have a different outer size, registration length, badge, border, raised-letter layout or lower markings.
Hold the new plate in its intended position and check that it sits flat, upright and centred within the usable mounting area. Make a card template first if access is awkward. Confirm the bonnet, boot or tailgate can move without striking the plate.
- Photograph the original fitting before removal.
- Compare the old and new plate dimensions.
- Test a card template when space is tight.
- Check nearby moving panels before marking.
Mark holes only in clear plate areas
Mark from the mounting surface onto low-tack tape placed over blank areas of the plate. Keep every proposed hole, screw head and cap clear of the registration characters, badge, border and required supplier and British Standard markings.
UK display regulations say a screw, bolt or other fixing must not change the appearance or legibility of any character or impair a true photographic image of the plate. The current DVSA MOT manual specifically warns that misplaced screws or bolts can affect character identification, including by ANPR cameras.
- Keep fixings well away from every character.
- Protect the lower supplier and standard markings.
- Use matching positions that hold the plate evenly.
- Recheck all marks before picking up the drill.
Support the plate before drilling
Take the plate off the vehicle for drilling. Place it on a clean, flat backing board or padded work surface so the area around each mark is supported and the finished face cannot be scratched.
Follow the plate and fixing instructions and use a sharp drill bit suitable for the plate material. Work slowly with light pressure and let the bit cut rather than forcing it. Stop if the acrylic flexes, catches or begins to crack. Keep swarf away from the reflective face and raised lettering.
- Never drill while the plate is held against the vehicle.
- Support the area around each mark.
- Use light pressure and an appropriate sharp bit.
- Keep the finished face clean and protected.
Fit securely without overtightening
Clear the holes carefully, position the plate and tighten each fixing gradually so it is secure without being pulled into a curve. Use suitable screws, washers and caps for the mounting surface, and keep their visible colour and position from changing the appearance of the registration.
The DVSA manual lists a plate that is missing or insecure enough to be likely to fall off as a major defect. After fitting, read every character straight on and from both corners, check the plate is upright and unobstructed, then inspect the holes and security again after the first journeys and washes. Official guidance checked on 7 November 2026.
- Tighten fixings evenly and only as required.
- Do not bow a rigid plate into the bodywork.
- Read the full registration after fitting.
- Check every corner for movement.
- Reinspect the holes after early journeys.